
Last updated November 16, 2026
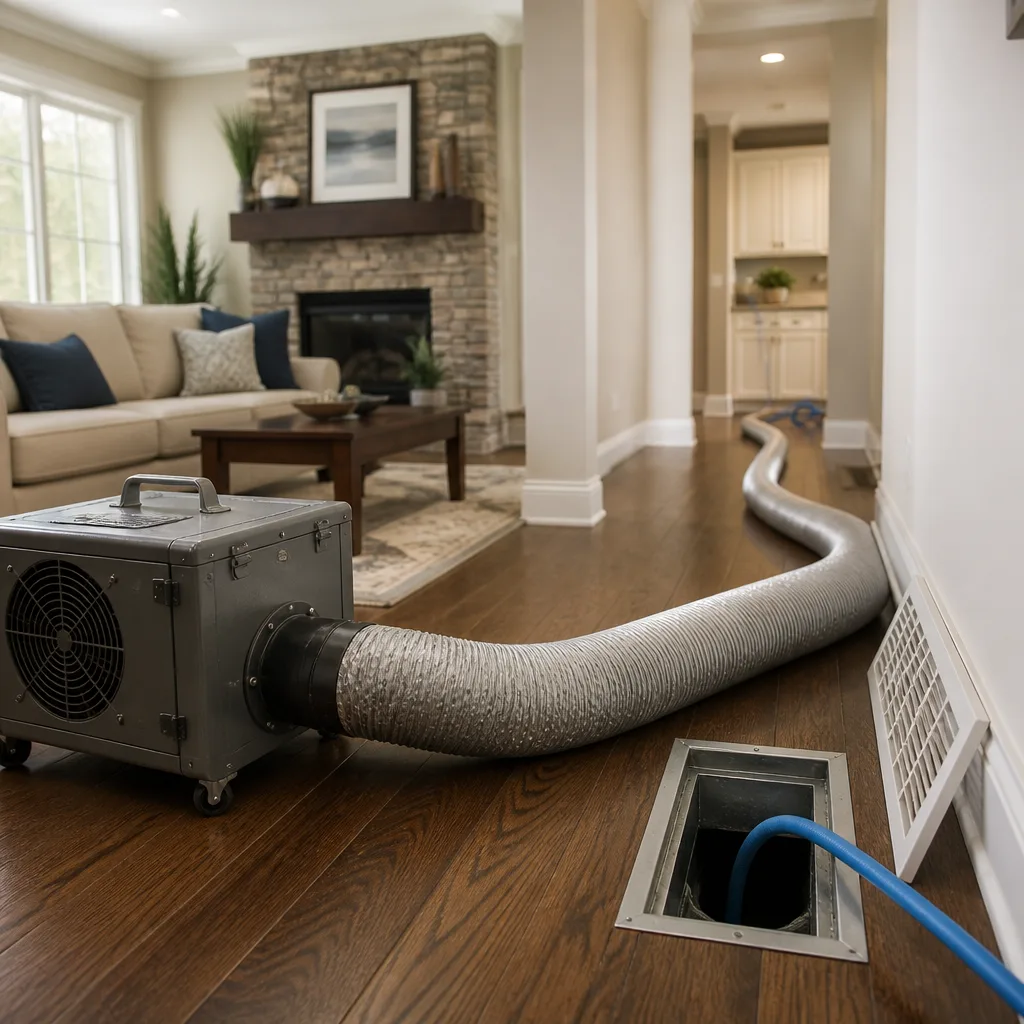 Whole-home duct cleaning
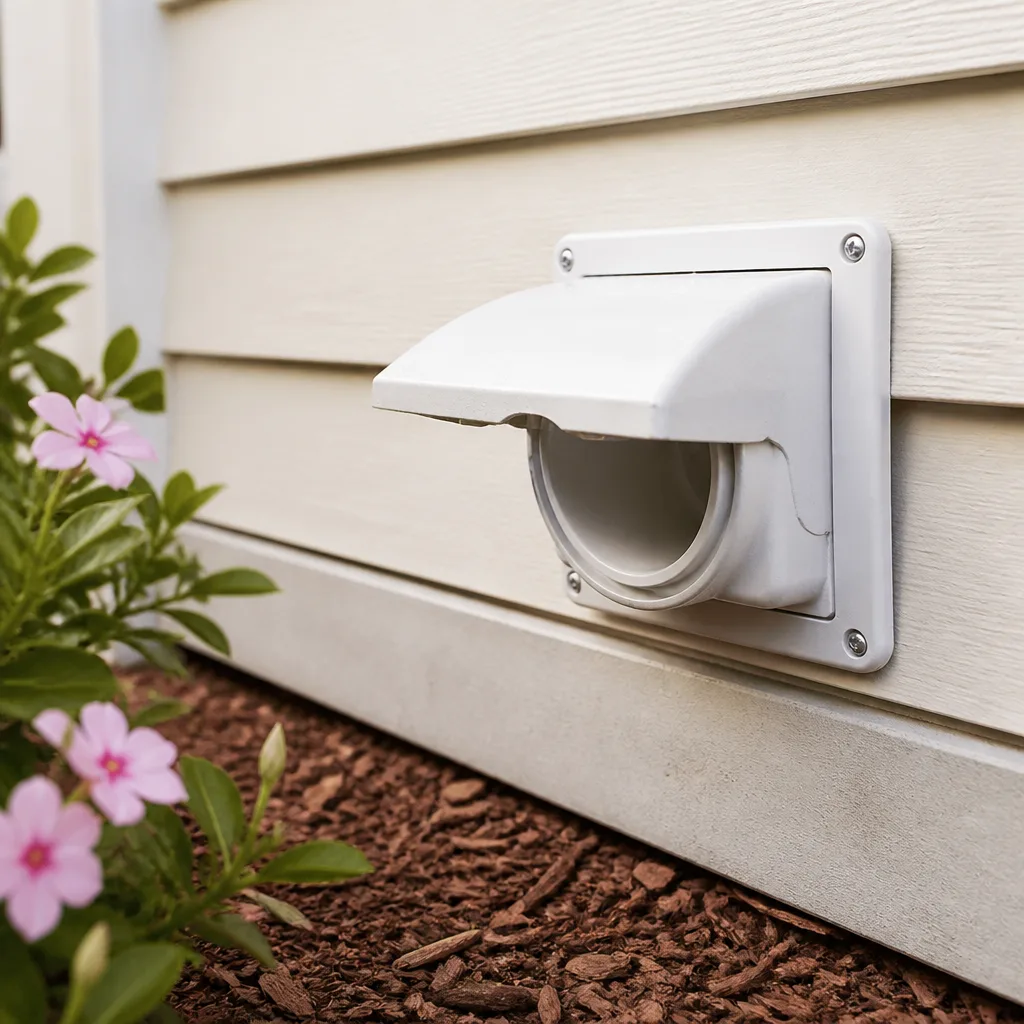 Dryer vent cleaning
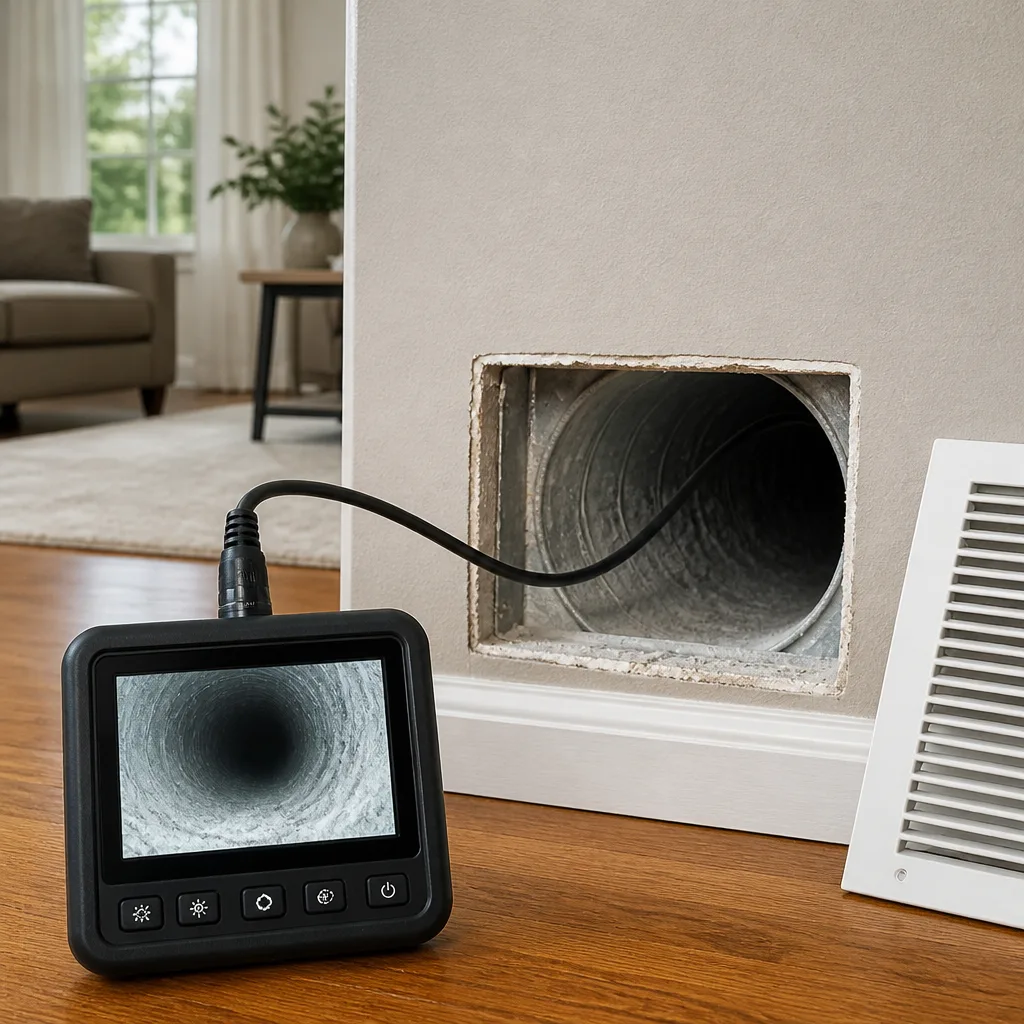 Camera inspection
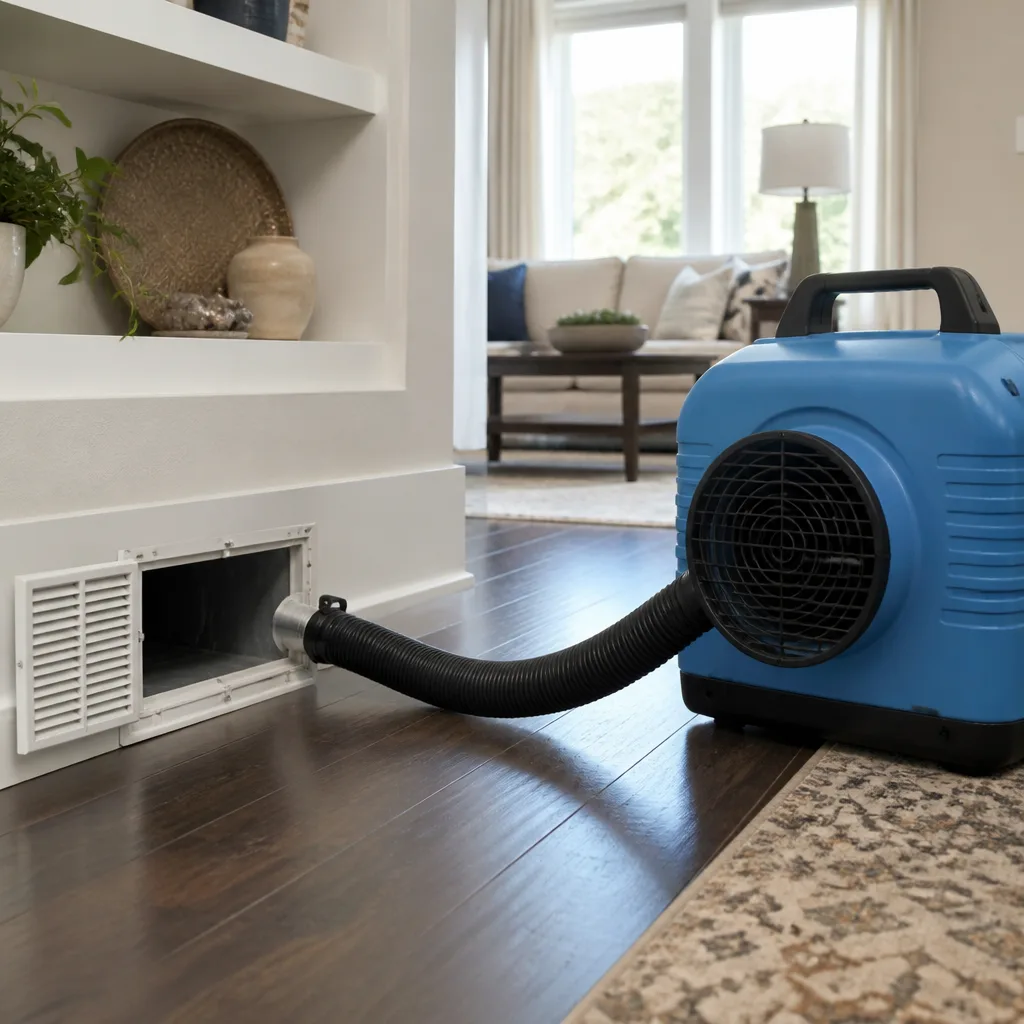 Sanitizing & deodorizing
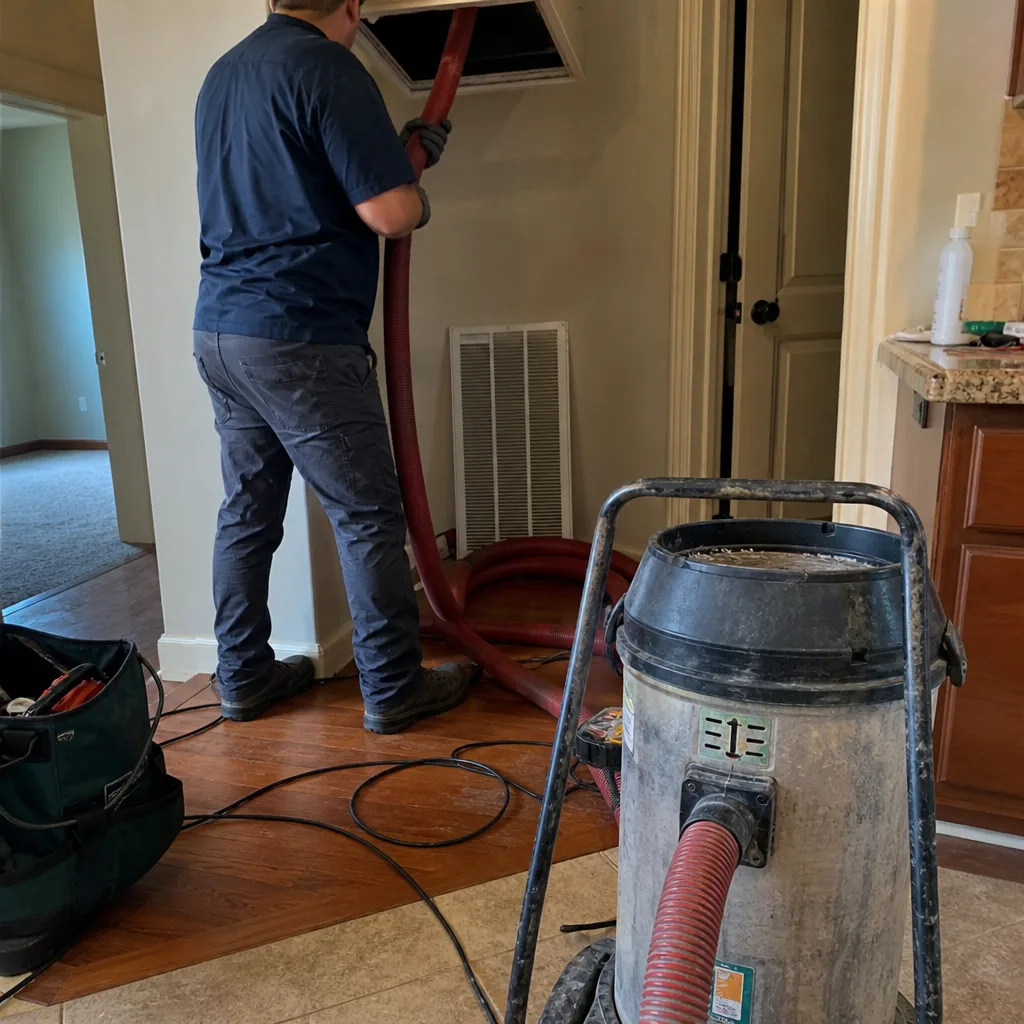
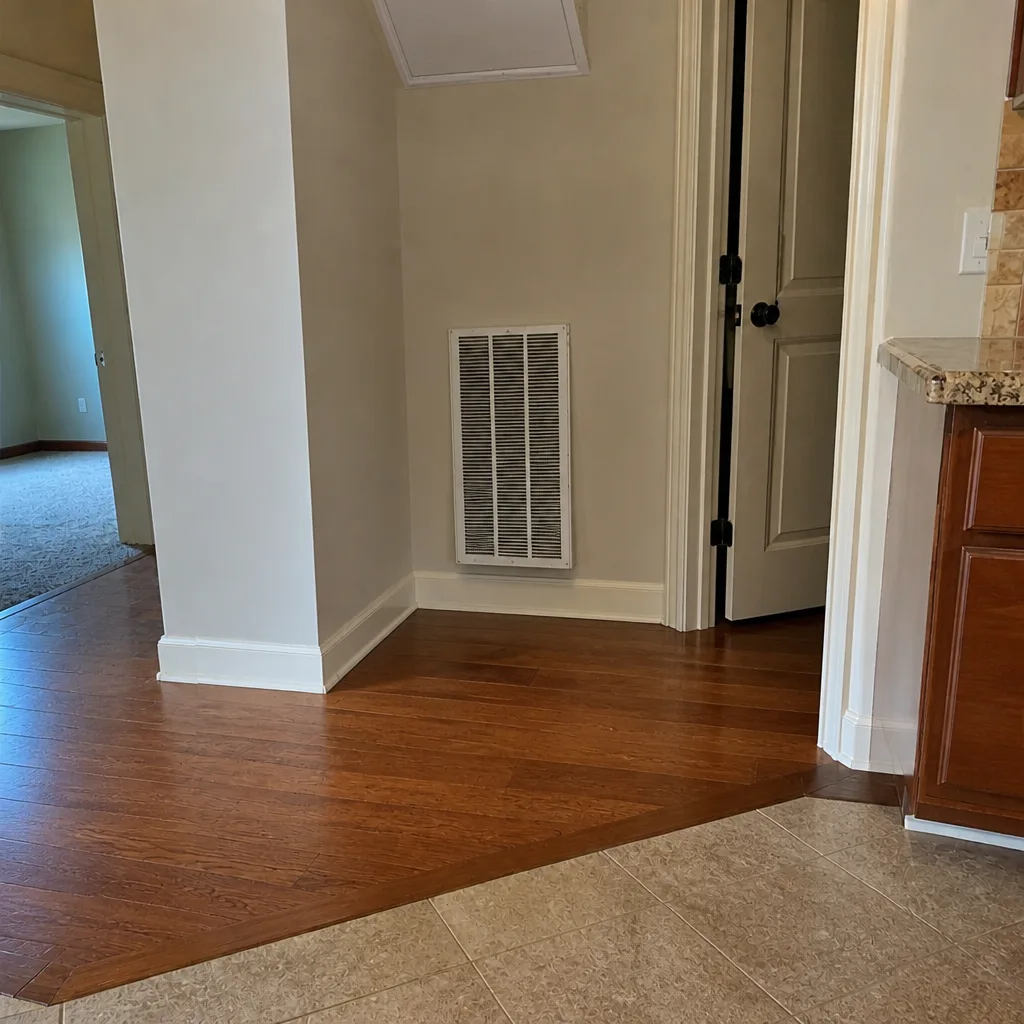
Whole-system duct and dryer vent check with before-and-after photos - you see exactly what came out of your vents
That "$99 whole-house special" is a bait ad - the real number appears once they are in your hallway, or the "clean" is a shop-vac at the register. We photograph the inside of your ducts before and after instead.
Air Duct Cleaning Maintenance Checklist for Georgetown Homeowners
Most Georgetown homeowners first hear that their ducts need attention from an HVAC technician standing in a hot hallway in August, usually after a compressor has already quit. That’s the wrong moment to learn about duct maintenance: reactive, hot, and expensive. Ducts are one of the few systems in a house where a small amount of scheduled attention prevents the loud kind of failure. This guide gives you a 12-month checklist built around Georgetown’s real seasonal triggers, the visual inspections you can run yourself, and the clear signals that a maintenance item has turned into a repair call.
Quick Answer
Walk your registers, return grilles, and accessible flex duct connections twice a year and photograph what you find; change filters on a schedule that matches the season rather than the calendar on the packaging; and book professional air duct cleaning when you see visible debris, airflow that keeps dropping, or a year has passed since the last documented cleaning. In Georgetown, the two dates that matter most are the end of cedar season and the end of the summer cooling peak.
Styles & brands we work with
- Whole-home duct cleaning
- Dryer vent cleaning
- Camera inspection
- Sanitizing & deodorizing
Table of Contents
- Why a Calendar Beats a Reminder
- The 12-Month Georgetown Duct Calendar
- What You Can Safely Inspect Yourself
- Choosing a Filter for Cedar and Construction Dust
- Documenting Your Ducts With Photos
- When Maintenance Becomes a Repair
- The Dryer Vent Checklist Item
- What Professional Cleaning Actually Involves
Why a Calendar Beats a Reminder
A generic duct maintenance plan usually reads “change the filter every 90 days, clean your ducts every few years.” That advice was written for a climate that isn’t yours. Georgetown sits in a stretch of Central Texas where cedar pollen loads the air in winter, summer cooling runs nearly continuously for months, and new construction keeps throwing drywall dust and sawdust into the return side of brand-new systems. The ducts in a Georgetown house aren’t facing an even year; they’re facing a handful of peak events.
If you build your maintenance around those events, the small chores line up with the moment they matter. A filter change in late spring catches the debris before peak cooling pulls it into the coil. A return-grille inspection after cedar season catches the pollen film before the whole-house fan drags it into a bedroom. That’s the idea behind this checklist: not more work, but better timing.
It’s also the moment to be clear about what a checklist can’t do. Registers and returns are visible; the trunk lines and the coil cabinet are not. A homeowner can catch a lot with a flashlight and a phone camera. Some conditions only show up when a camera goes into the branch lines or a rotary brush runs the length of a trunk. Our technicians have up to experience doing exactly that work, and we’d rather you know where the line between “check” and “call” is than have you guess.
The 12-Month Georgetown Duct Calendar
Here’s the schedule we recommend for a typical Georgetown home with central air. Some homes need more; almost none need less. Adjust the exact months if your system runs a heat pump instead of a gas furnace, since a heat pump runs year-round.
- January: cedar season return-grille check. Cedar pollen running into the return grilles is visible as a dull film. Photograph each return, note airflow at the registers, and swap the filter for a fresh one. This is the moment to consider a higher-MERV filter and a scheduled cleaning.
- February: coil cabinet and drain line look. With the system mostly at rest, this is the easiest time of year to check the air handler cabinet for dust buildup and to make sure the condensate drain isn’t blocked. If the cabinet is visibly fouled, that’s a professional call.
- March: filter change and register walk. The pre-summer change. Photograph all registers and returns for the baseline record described later in this guide.
- April: duct seal inspection. Crawlspaces, attics, and garage connections are the classic leak points. Look for separated flex duct, torn insulation, and joints that were taped once and have since let go. Air Duct Repair is a real service in Georgetown, not a rounding-up afterthought.
- May: pre-season cleaning if you’ve earned one. If you’ve had visible debris, airflow loss, or a full year without documented cleaning, this is the right window. Our busiest stretches are June through September, so May gives you a scheduling margin.
- June through August: airflow and filter monitoring only. During peak cooling, don’t move furniture over returns or block supply registers. Check the filter every 30 days. Note any room that stops cooling as thoroughly as it did in May.
- September: end-of-summer duct assessment. This is the most useful single check of the year. Photograph any room that ran warmer than the rest of the house. That evidence, taken before the system shuts down for the shoulder season, tells you what October’s work should address.
- October: post-freeze-season window inspection. Before the first hard cold snap of the season, check outdoor and attic duct runs for sagging, separations, and connections that loosened over summer. In a Georgetown attic, insulation on flexible ducts can compress against a joist and strangle the run by fall.
- November: dryer vent check. Covered in its own section below; the short version is that this is a fire-risk item, not an afterthought.
- December: photos and a plan. Compare your photographs from this year to last year’s, and decide whether next year starts with a professional air duct cleaning or just routine checks.
That’s ten action points across a year, most of them five to fifteen minutes. The whole program costs a few filter changes and a couple of calls. That’s a much smaller number than a failed compressor in August.
What You Can Safely Inspect Yourself
You can inspect a surprising amount of your own duct system without tools beyond a flashlight, a phone camera, and a screwdriver. You cannot safely open the air handler cabinet, remove the blower, or push anything into the return trunk; those are professional territory, and we’ll say why.
What’s fair to check yourself:
- Registers. Remove the covers (most are held by two screws) and look inside. A light dust film is normal. A mat of debris, visible nesting material, or a dark irregular coating isn’t.
- Return grilles. The return is the biggest single filter in most homes. If the filter behind it is clogged, dark, or bowed inward, it’s overdue.
- Accessible flex duct connections. Where flexible duct meets a rigid plenum or a register boot, look for separated joints, torn outer jacketing, or tape peeling off. In an attic or crawlspace, look for a duct that has collapsed against a joist or been crushed by stored boxes.
- Register airflow. Hold a tissue a few inches from each supply register; if it flutters, you have airflow. If it hangs, you have a blocked or leaking run, or a system problem upstream. Note which rooms perform worse and whether the pattern changes as you turn on a bath fan or dry vent.
- Smells. A musty smell at a return is usually a sign of moisture or organic buildup in the duct or the coil cabinet. It’s worth a call rather than a guess.
What not to do: don’t push a shop vac hose into a return trunk, don’t remove the blower-door panel, don’t reach past the filter, and don’t spray anything into the duct. A vacuum with a domestic hose can actually bridge debris to the blower, which converts a maintenance issue into a repair issue. If you see something that worries you at the coil or blower, photograph it and call us. That’s what the free estimate is for.
Choosing a Filter for Cedar and Construction Dust
Georgetown homeowners face a double allergen load: winter cedar pollen season and a steady supply of construction dust from the building growth around town. Those two problems want slightly different filters, but one rating covers both. The right answer is usually MERV 8 to MERV 11.
- MERV 6 or lower: too permissive. It will pass cedar pollen and a good share of construction dust straight into the coil. Fine for a rarely-used system, poor for a Georgetown house in January.
- MERV 8 to MERV 11: the sweet spot. Captures most pollen and fine construction dust without choking airflow in a residential system. Start here unless your HVAC contractor has specified something different.
- MERV 13 or higher: only if your air handler can support the pressure drop. Many residential systems can’t, and the result is reduced airflow, a louder system, and a filter that clogs faster. Higher isn’t better if it costs you cooling capacity.
The filter schedule is more important than the rating. In a Georgetown house, treat it like this: change every 30 days through June, July, and August, because peak cooling means peak dust pull. Change every 30 to 60 days during cedar season in December through February. Change at the shoulder months in the ordinary way. If you have pets, or you’re within a mile of active construction, halve those intervals. A filter is the cheapest maintenance item in your home and the one most often neglected.
If your system has whole-home air quality equipment – a media cabinet, a powered filter, a humidifier – the servicing is a bit more involved. Our technicians are trained on Honeywell and Aprilaire components, so we can assess and clean the integrated equipment, not just the ducts around it.
Documenting Your Ducts With Photos
The single most valuable thing a homeowner can do for a duct system is to keep a photo record. It takes five minutes twice a year and gives you a baseline for every future decision: whether to clean, whether to repair, whether a contractor’s expensive recommendation is justified.
Here’s the sequence we recommend. Do it once in April and once in September.
- Photograph every register. One shot from the room showing the grille in context, one shot with the grille removed and the phone flash lighting up the inside. Save with the room name in the filename.
- Photograph every return. Include the filter behind it, with the date visible.
- Photograph visible duct runs. Attic, crawlspace, garage ceiling – wherever you have access. Include the connections and any support straps.
- Note the date and the weather. A record that shows the same visible dust in April as September is different from one showing visible growth after a July.
- Keep them in one folder. A cloud folder labeled “Duct record” is enough. Note the filter brand and MERV rating next to each change.
The payoff comes later. When a contractor proposes a cleaning, you can look at your own photos and ask what specifically changed. When you sell the house, you can show a buyer a documented history. And when you do hire a professional, before-and-after photos of the actual ducts in your home are the standard we hold ourselves to, so it’s worth asking for them from anyone you hire.
When Maintenance Becomes a Repair
Most of the checklist is designed to catch small problems. The trick is knowing when a small problem has crossed the line. Here are the signals we treat as repair calls, not cleaning calls.
- A room that stops keeping up. A single room that ran fine last summer and doesn’t now is usually a disconnected or crushed duct, not a system problem.
- Whistling or hissing at a register. That’s pressure escaping a damaged joint or an undersized run. Cleaning won’t fix it.
- Visible separation at a flexible duct joint. Tape peels, collars loosen, and the affected run dumps conditioned air into the attic. That’s a leak, and in Georgetown’s summer it costs real cooling efficiency.
- Pest or rodent evidence in a duct run. Cleaning alone is not sufficient. The damaged section needs to be replaced and sealed, and the source needs to be closed.
- A duct that’s been crushed by stored boxes. Common in garages and attics. Bending a duct back into shape isn’t a fix; the run needs to be replaced or supported properly.
- Persistent musty smell at one register. Usually a moisture problem at the duct or the coil cabinet. It needs diagnosis, not a scent treatment.
We repair what other crews clean around. That’s a real difference in this trade: some operators only clean, and they’ll clean the mess in place and tell you the leak is normal. Air duct repair as a separate service means we can close gaps and rebuild connections when we find them, rather than leave you with a clean but leaking system. If a contractor’s only answer to a separated joint is “we’ll clean it”, that’s a signal to ask a second question.
The Dryer Vent Checklist Item
Most homeowners put dryer vent cleaning at the bottom of the list, and it’s the wrong place for it. A clogged dryer vent is a documented residential fire risk, and in a Georgetown house running several loads a week it accumulates lint at a rate that surprises people. Treat this as a fire-safety checklist item, not an optional add-on.
Here’s the homeowner-level check for the dryer vent:
- Check the exterior vent flap. With the dryer running, go outside and watch. The flap should open fully and stay open while the cycle runs. If it barely moves, the run is restricted.
- Check the flexible connector behind the dryer. It should be short, smooth, and free of kinks. If it’s crushed or has a long loop, that’s a lint trap.
- Time a normal load. If a load that used to finish in one cycle now needs two, or clothes come out hot and damp, that’s a sign of reduced airflow. Note the timing; it’s a useful baseline.
- Look at the lint screen. A screen that’s routinely loaded with a matted lint sheet (rather than a thin film) suggests the run behind it is backing up.
Don’t open the wall or the vent run yourself. The vent line runs through spaces a homeowner shouldn’t be in. Book professional cleaning when the flap doesn’t open fully, the dryer takes noticeably longer, or you haven’t had the vent inspected in some time. We treat the dryer vent as a dedicated service rather than an upsell afterthought, and we recommend scheduling it once a year for a typical household. That’s especially important in a home where the vent run is long, since long runs accumulate lint faster.
What Professional Cleaning Actually Involves
Professional air duct cleaning isn’t a stronger vacuum. It’s a process. The value lies in the tools and the containment, and the sequence matters more than the sticker price. Here’s what a thorough job looks like, and what to ask about when you’re comparing estimates.
- Set up negative-air containment. Before any brush goes in, professional crews use a negative-air machine to pull the duct system into a slight vacuum relative to the house. That contains debris and prevents the whole-home redistribution problem that low-bid operators leave you with. We use Abatement Technologies air filtration equipment for exactly this.
- Open access points and mechanically agitate. A rotating brush run the length of each trunk and branch line loosens the adhered dust film that a vacuum alone won’t move. We use Rotobrush rotary-brush systems for this step, then follow with Nikro vacuum and collection equipment for extraction.
- Clean the coil and air-handler cabinet. If the coil cabinet is fouled, the ducts will re-foul quickly. Whole-system cleaning means the coil and blower housing get attention, not just the runs.
- Inspect and repair while access is open. Anything separated, crushed, or torn gets fixed rather than cleaned around. This is the step most one-note operators skip; it’s why we offer duct repair as a standalone service.
- Photograph before and after. A thorough crew shows you photos of your actual ducts, not stock images. If a crew can’t show you their own before-and-after, that’s a signal.
- Put the system back and confirm airflow. Registers reinstalled, seal checked, airflow compared at each supply. You should know which rooms improved and by how much.
Doors are only as good as the walls they hang in, and ducts are the same. Contractor-grade equipment, residential pricing is the standard we hold, and we don’t quote per-vent prices or teaser coupons. Estimates are per system, set in writing before work starts. That’s the way to compare budgets honestly, because the number on the estimate is the number on the invoice.
Common Mistakes to Avoid
- Assuming a filter change is duct maintenance. The filter is the front door; it doesn’t clean the hallways inside. If you never look past the filter, you’re relying on the system to self-clean, which it doesn’t.
- Blocking return grilles with furniture. In a small Georgetown home, a sofa against a return is a common and easy problem to create. Anyone replacing carpet in a smaller room should check where the returns are first.
- Skipping cedar season entirely. If you live in central Georgetown under a canopy of cedar, the filter change schedule through January and February matters more than the summer one. Skipping it lets a season’s worth of pollen reach the coil.
- Buying the highest-MERV filter as an upgrade. In most homes, a MERV 13 or higher filter chokes airflow and creates more problems than it solves. Match the filter to the blower you have.
- Cleaning ducts before fixing a leak. A cleaning with active leaks is temporary. If we find separated joints, we repair before we extract; if you hire a cleaning-only crew, mention that the leak exists and ask how they’ll handle it.
- Hiring on coupon price alone. A very low bid usually means no negative-air containment, no rotary-brush step, and no photos. Ask each contractor which equipment they bring. A shop vac and a hose isn’t the same job.
- Putting off the dryer vent. Of everything in this checklist, this is the item with the highest fire-risk payoff. Treat it as yearly and it stops being a worry.
See the difference
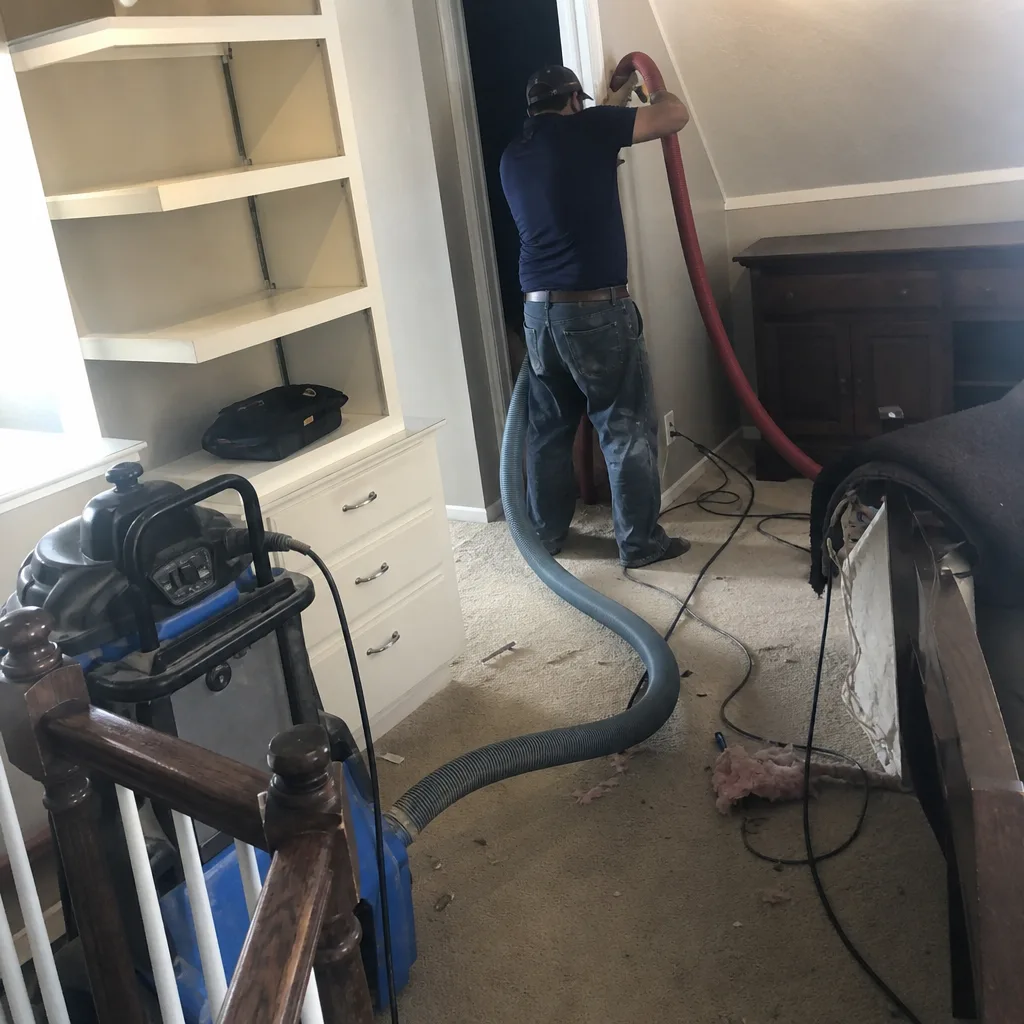 Before
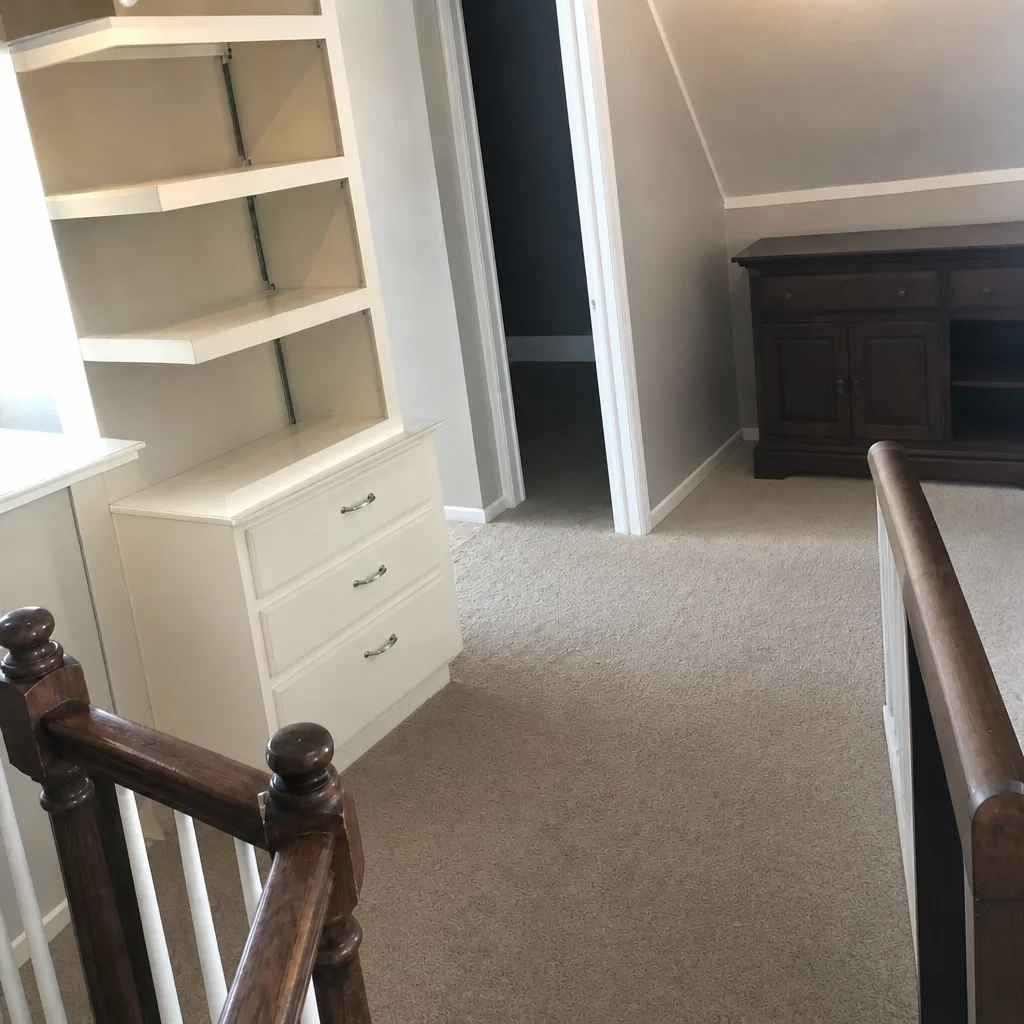 After
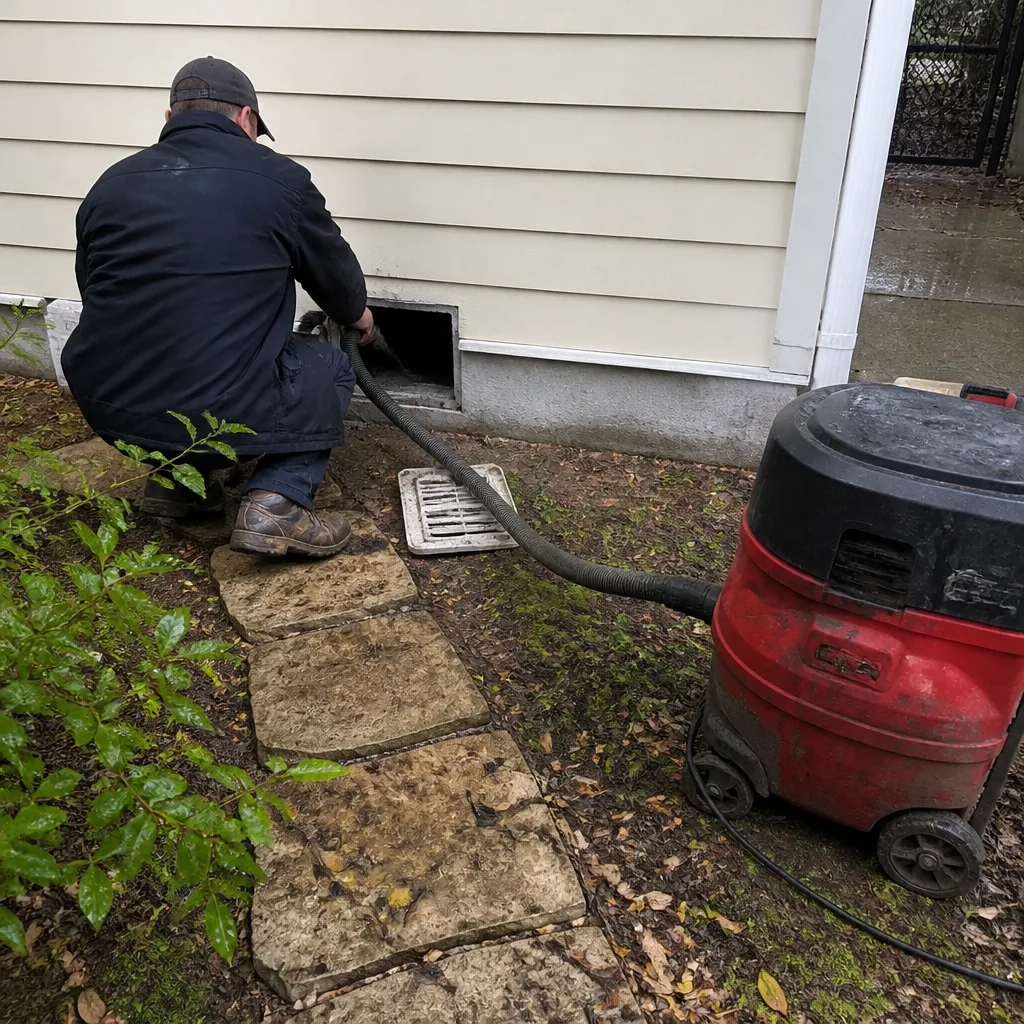 Before
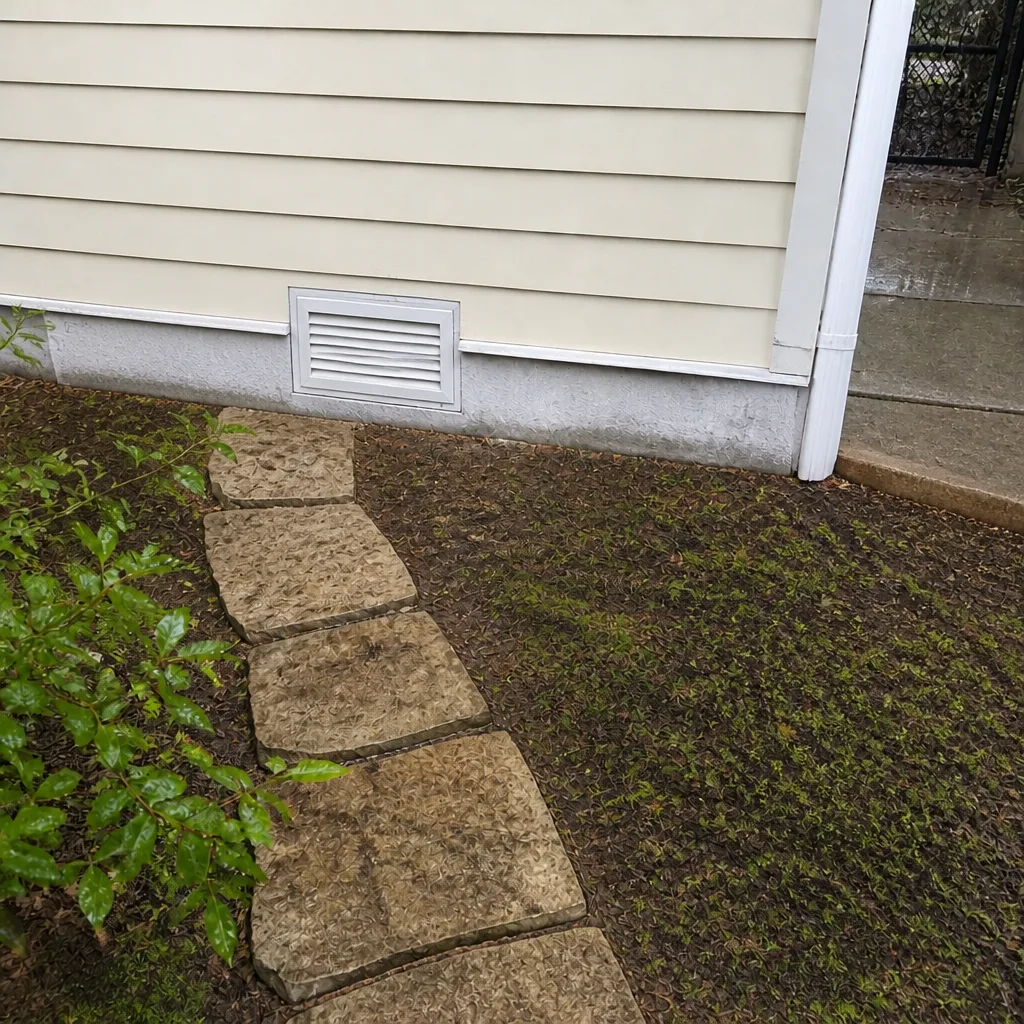 After
 Before
 After
When to Call a Professional
Call a professional when a checklist item has clearly escalated past what a homeowner should handle. The clearest triggers: a return grille that’s blackened inside within a month of a fresh filter, visible debris inside the ducts, airflow that keeps dropping across rooms over a season, a musty smell that persists after a filter change, a suspected crushed or separated duct run, a dryer that needs two cycles for a load, and any year that passes without a documented cleaning. Those are all signs that need professional equipment and containment, not a stronger shop vac. For a documented cleaning, we work on the whole system, and our technicians have up to experience on the coil and the air handler cabinet, not just the ducts. If you’re unsure from a photograph, send it to us; we’ll tell you whether it’s a maintenance item or a scheduled job. Duct Cleaning Georgetown offers free estimates in Georgetown. Call (844) 560-6431.
Frequently Asked Questions
Once a year to once every two years for a typical Georgetown home, with the frequency adjusted for cedar season and construction dust. A home near active building growth, a home with pets, or a home where anyone in the household has reactive airways usually needs the yearly end of that range. Yearly is also the right interval if you want a documented record of the system; if you’re comfortable with two years, check the visible condition every spring and fall and book early if you see changes. Call (844) 560-6431 for an exact quote; estimates are free.
A filter change protects the blower and coil from incoming dust; duct cleaning removes adhered debris from the inside surfaces of the ducts. The filter sits at the return and catches what’s flowing toward the equipment, but it doesn’t clean buildup that’s already in the trunk or the branch lines. Cleaning means agitating the duct surfaces with a rotary brush and extracting with a professional vacuum, with the system under negative pressure while it happens. Both are on the checklist and neither replaces the other. Call (844) 560-6431 for an exact quote.
MERV 8 to MERV 11 is the right range for most Georgetown homes, because it catches winter cedar pollen and fine construction dust without choking airflow. Higher-rated filters do catch more, but many residential blowers aren’t built for the added pressure drop, and the result is reduced cooling capacity and a filter that clogs faster. Use the filter schedule in this guide: change every 30 days through peak cooling and every 30 to 60 days in cedar season. If your system has a media cabinet or a powered filter, ask a professional about its specific needs. Call (844) 560-6431 for an exact quote.
Ask for before-and-after photos of your own ducts, not stock images. A thorough professional cleaning should produce photos of the returns and the access points you can match to your own home, plus a report of what was cleaned and what, if anything, was repaired. We photograph before and after every job for exactly this reason. If a contractor can’t show you their own work, ask why. A negative-air machine and a rotary brush leave specific visible results; a shop vac leaves none. Call (844) 560-6431 for an exact quote.
Low-bid quotes usually reflect missing steps, not a sale: no negative-air containment, no rotary-brush agitation, no coil cleaning, and no photo documentation. That’s a different job with a different outcome, and the low price is accurate for what’s actually included. We don’t quote per-vent prices or teaser coupon rates; we give one flat price per system in writing before work starts, so the invoice matches the estimate. If you’re comparing bids, ask each contractor which equipment they bring and what they photograph. Call (844) 560-6431 for an exact quote.
Yes. Drywall dust, sawdust, and construction debris are among the worst things to leave in a duct system because they’re fine and they adhere. A post-construction cleaning is one of the clearest cases for professional service, and it’s worth scheduling after final cleanup rather than during the project. If you’ve had drywall work, a kitchen remodel, or a major flooring job, check your return grilles within a month and book a cleaning if you can see the dust. Call (844) 560-6431 for an exact quote.
The Bottom Line
The whole checklist comes down to a handful of ideas. Time your maintenance to Georgetown’s real seasonal triggers, not to a generic 90-day filter reminder. Inspect your own registers, returns, and accessible duct joints twice a year, and photograph what you find so you have a baseline. Match the filter to the blower you actually have, in the MERV 8 to 11 band, rather than the highest rating on the shelf. Treat the dryer vent as a fire-safety item and book it yearly. And when a leak, a crushed duct, or persistent airflow loss shows up, fix the system, don’t clean around it. If you follow the calendar and keep the photos, you’ll never be the homeowner who learns about duct maintenance from a technician in August.
Book a Free Estimate in Georgetown
For a documented air duct cleaning, dryer vent service, or duct repair in Georgetown, call (844) 560-6431. We bring contractor-grade Rotobrush and Nikro equipment and Abatement Technologies containment to the job, quote one flat price per system in writing, and show you before-and-after photos of your own ducts. If you aren’t sure whether a photograph means “maintenance” or “scheduled job”, call us and describe it; we’ll tell you honestly. You can also start with Duct Cleaning Georgetown to see the full range of services, read more about air duct cleaning, or book dryer vent cleaning as a separate visit if the dryer has been running long. We answer 24/7. Fast dispatch from 7am to 7pm, Sunday through Friday. Estimates are free.
More on our Georgetown service.
Written by the team at Duct Cleaning Georgetown.